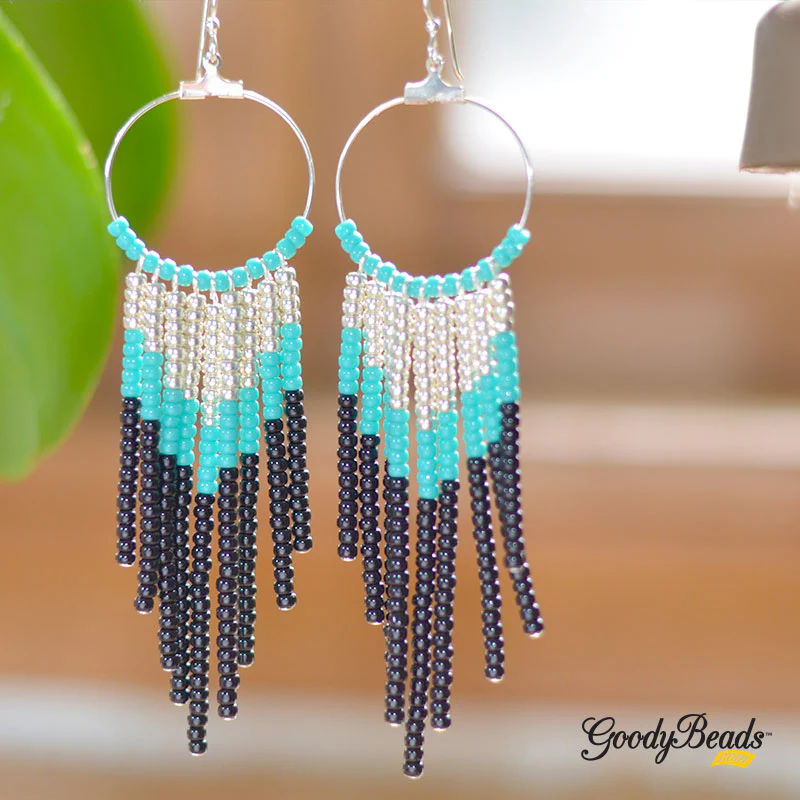
Adding a bead fringe to seed bead earrings is a fun technique. It can make your handmade jewellery even more special. You can choose from many styles to create earrings that show off your unique taste.
This tutorial will walk you through the steps. It promises a rewarding and enjoyable crafting journey. Making your own accessories not only feels great but also lets you express yourself in a unique way.
Key Takeaways
- Bead fringe adds a unique touch to seed bead earrings.
- Mastering this technique offers new creative opportunities.
- Personalised beaded earrings showcase individual style.
- This tutorial provides step-by-step guidance.
- Crafted accessories bring a sense of accomplishment.
Introduction to Adding Bead Fringe
Adding a bead fringe to your seed bead earrings can make them look amazing. This tutorial will show you how to do it. It’s great for both experienced crafters and beginners who want to make stylish jewellery.
Using a bead fringe in your earrings has many benefits. It makes them look better and lets you try out different colours and designs.
To add a bead fringe, you need to follow a few steps:
- Choosing your bead colours – Pick colours that go well together.
- Gathering necessary supplies – Make sure you have everything you need.
- Preparing your work area – Set up a comfy and tidy workspace.
- Threading the needle – Learn how to thread easily with our tips.
- Starting your bead fringe – Start with the first bead and build your first row.
- Building the fringe strands – Keep adding beads and keep the tension even.
- Adding beads to each strand – Try different patterns and bead types for extra style.
“Adding a bead fringe is like giving your earrings a personality. Each strand tells a story of creativity and style.” – Bead & Button Magazine
This step-by-step guide will help you learn how to add a bead fringe to your seed bead earrings. You’ll end up with earrings that are truly unique. Whether you’re just starting out or have been beading for years, this guide will give you all the tips you need to make stunning earrings.
Necessary Supplies
Making beautiful bead fringe earrings needs a few key supplies. These ensure your earrings are both quality and durable. Having these items ready will make the crafting process smoother and more fun.
Seed Beads
Seed beads are a must-have. They come in many colours and sizes. It’s important to pick the right ones for your design.
Choose high-quality Japanese or Czech seed beads. They offer consistent size and shape. This greatly improves your earrings’ look.
Thread and Needle
The right thread and needle are key for durable fringe. Pick a strong, thin thread that doesn’t fray easily. FireLine or Nymo are favourites among beaders.
Also, choose a beading needle that fits your seed beads well. This ensures the thread doesn’t split when you thread it through.
Sketching Your Design
Sketching your design before you start beading is a good idea. It helps you see how the beads will look together. You can try out different colour combinations.
This step saves time and helps avoid mistakes. Make sure to plan the fringe strands’ layout. This will make your seed bead earrings look even better.
Choosing Your Bead Colours
Choosing the right bead colours is key for making stunning seed bead earrings. It’s about mixing shades and tones to create a beautiful design. Whether you want bold or subtle, your colour scheme makes a big difference.
Here are some tips for picking the best bead colours:
- Contrast: Make sure the beads contrast well with the earring base. This makes the fringe pop.
- Harmony: Pick colours that go well together. A colour wheel can help you see which hues match.
- Pattern: Plan your pattern first. This helps you choose the right beads for your design.
Below is a guide on how colour pairings affect your bead fringe design:
| Colour Pairing | Effect | Best Used For |
|---|---|---|
| Monochromatic | Subtle elegance with a unified look | Classic and formal designs |
| Complementary | High contrast and vibrant look | Statement pieces |
| Analogous | Harmonious and soothing | Casual wear |
| Triadic | Balanced yet lively | Fun and playful designs |
Knowing how colours affect us can help you choose better. Warm colours like red and orange bring energy. Cool colours like blue and green calm us down. By picking your bead colours wisely, your earrings will look amazing and match your style.
Preparing Your Work Area
A well-prepared work area makes beading more enjoyable. It should be organised, well-lit, and comfortable. This setup improves your efficiency and workflow.
Organising Your Beads and Supplies
Begin by sorting your beads and supplies for easy access. Use boxes or containers to categorise them by colour, size, and type. This saves time when searching for the right bead or thread.
Ensuring Adequate Lighting
Good lighting is key for detailed beadwork to avoid eye strain. Place a bright lamp over your workspace for clear visibility. Daylight bulbs can make your space more comfortable.
Creating a Comfortable Workspace
Creating a comfy workspace is vital for long beading sessions. Choose a chair with good back support and an ergonomic design. Keep tools close and your table at a comfortable height to avoid strain.
Threading the Needle
Threading the needle is key for your beading project. Starting with a well-threaded needle makes your bead fringe look professional.
Choose a thread that matches your seed beads. It should be strong but also flexible. Cut a metre-long piece of thread for better control and to avoid tangling.
- Technique 1: Use thread conditioner to stiffen the thread tip, making it easier to pass through the needle’s eye.
- Technique 2: Fold the thread near the tip and pinch it between your fingers, guiding it smoothly through the needle’s eye.
A well-threaded needle makes your beading work last longer and look better. Paying attention to this detail at the start will make your project more enjoyable.
| Thread Type | Strength | Flexibility |
|---|---|---|
| Nylon | High | Medium |
| Silk | Medium | High |
| Polyester | High | Low |
By using these threading techniques and choosing the right thread length, you’ll get great results. Mastering this step ensures your bead fringes fit perfectly in your earrings, making them look even better.
Starting Your Seed Bead Fringe
Starting your seed bead fringe project right is key for a beautiful finish. Follow these steps to attach the first bead, make the first row, and keep the right tension.
Attaching the First Bead
First, make sure your thread is tight. You’ll need a bit of tail to start. Then, thread your needle through the first bead. This bead is the base of your fringe.
Creating the First Row of Fringe
After the first bead, add more to make the first row. This row sets the look and feel of your fringe. Make sure each bead is straight for a smooth look. Use a steady hand to place each bead accurately.
Maintaining Tension
Keeping the right tension is vital for a professional look. Too loose, and your fringe will sag. Too tight, and it might break or look odd. Find the perfect balance through practice.
Technique Tip: Check your work often by gently pulling the thread. This keeps your fringe even and looking great.
| Step | Action | Important Tips |
|---|---|---|
| 1 | Secure Thread | Leave a few inches of tail |
| 2 | Attach First Bead | Ensure it is firmly in place |
| 3 | Create First Row | Align beads properly |
| 4 | Maintain Tension | Regularly check and adjust as needed |
Building the Fringe Strands
To effectively build the fringe strands, use a technique that keeps each row flat and neat. Start by pulling the thread tightly after adding each bead. This keeps the tension right and makes sure the strands stay even and secure.
Here are some tips for creating the fringe on your seed bead earrings:
- Start new rows by threading beads one after the other. Make sure the current row is snug under the last one.
- Try using different bead sizes to add texture and depth to your strands.
- Always pull the thread tightly after each bead to keep the tension even.
Getting a detailed fringe effect needs the right tension and a good beading technique. This technique should be flexible and strong. Here’s a comparison of common beading techniques:
| Technique | Pros | Cons |
|---|---|---|
| Peyote Stitch | Flexible, durable, and easy to manipulate | May require practice |
| Brick Stitch | Creates a robust and flat fringe | Can be more intricate and time-consuming |
| Square Stitch | Provides a sturdy backing | Less flexible compared to other techniques |
By using these methods, you can create a professional and elegant fringe. Focus on the details of each row and keep a steady pull throughout.
Adding Beads to Each Strand
Adding details to your seed bead fringe can make your design pop. You can do this by adding beads to the bottom, creating a pattern, and using drop beads. This will make your earrings look amazing.
Adding Beads to the Bottom
To add beads to the bottom, start by threading them onto each fringe. Pick different sizes and colours that match your design. Make sure the bottom beads stay in place to avoid any movement.
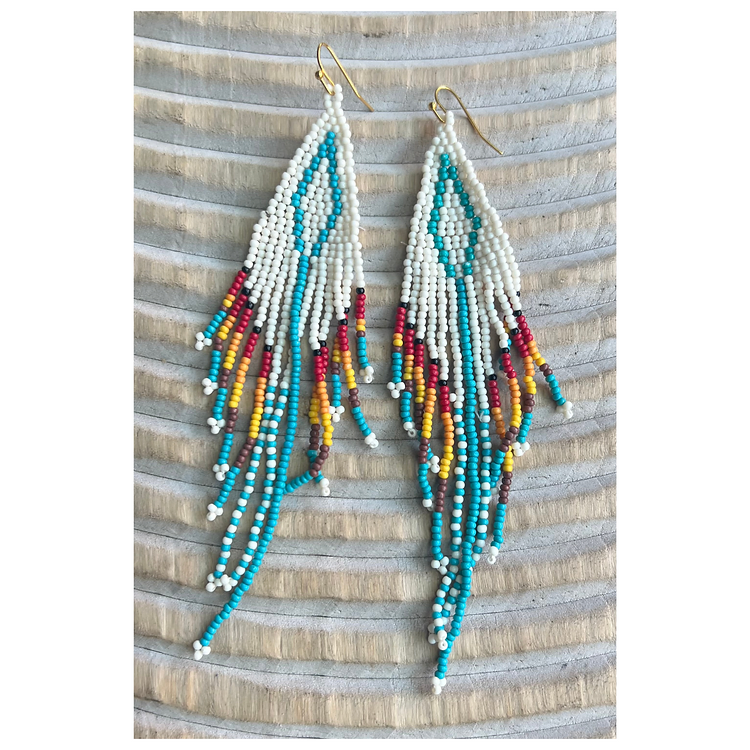
Creating a Pattern
Think about the balance and symmetry of your design when creating a pattern. Choose a sequence of beads, like alternating colours or sizes. Repeat this pattern along the fringe. This will make your fringe look cohesive and professional.
“A well-thought-out pattern can transform a simple beaded fringe into a work of art.” – Beading Expert
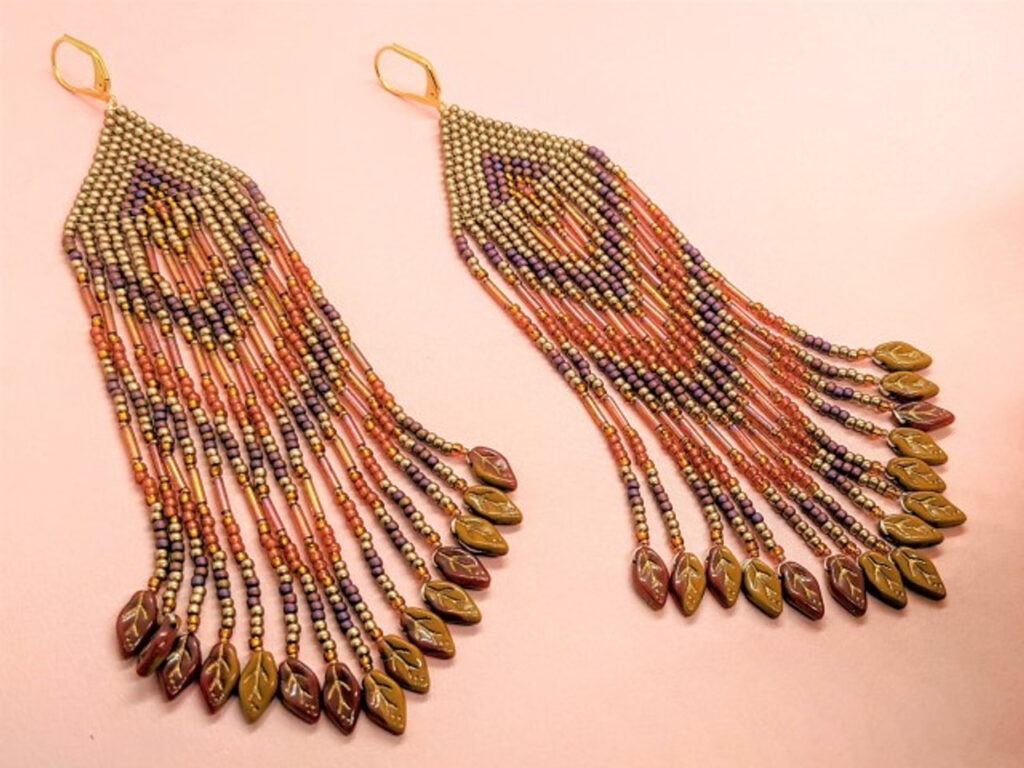
Using Drop Beads
Drop beads add elegance to your seed bead earrings. Place them at intervals along each fringe. This adds surprise and depth to your design. Varying where and how often you use drop beads makes each pair unique.
Mastering these techniques lets you create intricate and beautiful earrings. They will surely stand out.
Securing the Fringe to the Earring
Attaching your bead fringe to the earring is key for a neat and lasting look. Start by attaching each fringe strand to the earring hooks carefully. This keeps the design in place and prevents it from falling off.
Here are some ways to secure the fringe and attach it to your earring hooks:
- Knotting Method: Begin by tying a knot at the fringe’s base. This stops fraying and secures it. Then, thread the extra through beads to hide the ends.
- Reinforcing Weak Points: Look for any loose spots in the fringe. Reinforce these by going back through with the needle and tying more knots if needed.
- Adding Earring Hooks: Open the earring hooks a bit and slide the fringe’s base onto them. Close the hooks tightly to secure the fringe. Make sure there’s no gap for it to fall out.
Also, double-check the fringe and earring hooks for any weak spots after finishing. A secure attachment not only makes the earrings last longer but also looks more professional.
| Step | Description |
|---|---|
| Knotting Method | Secure each fringe strand with a knot, thread the excess through to hide the tails. |
| Reinforcing Weak Points | Inspect and reinforce any loose areas by threading needle back through. |
| Adding Earring Hooks | Attach fringe to earring hooks by sliding the base onto the hook and closing it firmly. |
Troubleshooting Common Problems
Creating seed bead fringe can be tricky, especially with tension and uneven strands. Knowing the causes and how to fix them keeps your earrings looking great.
Issues with Tension
Tension is key for a uniform fringe. If your rows look loose or uneven, it’s a tension problem. This can happen if you thread wrong or if your hand pressure changes. To solve this:
- Check your grip: Hold the thread gently but firmly to avoid too much tension.
- Check for smooth threading: Make sure your thread glides smoothly through each bead without catching.
By keeping an eye on these, you can avoid uneven tension and get a professional finish.
Fixing Uneven Strands
Uneven strands can mess up your design’s symmetry. To fix this, check if it’s because of different bead lengths or tension. Here’s how to fix uneven strands:
- Measure before you string: Double-check each strand’s length against your design plan.
- Ensure uniform bead selection: Pick beads that are the same size and shape to keep strands even.
Using these tips will help you get even, neat strands. This will make your earrings look more elegant.
Final Touches and Quality Check
When you finish making your fringe, it’s key to check every detail. Start by doing a detailed quality check of your work. Look at each strand to make sure they’re evenly spaced and look the same, and make sure there are no loose threads.
Focus on the final touches. Check that each bead is tight and the design looks good. If any strands seem off, adjust and tighten them.
At the end of the fringe, make sure all knots are tight and beads are well attached. This step is crucial for a professional look and to make your earrings last longer. By doing a careful quality check, you’ll know your earrings are ready to wear or sell with confidence.
Conclusion
In this tutorial, we’ve explored how to add bead fringe to seed bead earrings. We’ve covered everything from getting your supplies to threading the needle. Each step is designed to help you make your own beautiful earrings.
Starting with the basics, you’ll need seed beads, thread, and a needle. Make sure your workspace is tidy and well-lit. When threading the needle and attaching the first bead, keep the tension right. This is key for the earrings’ look and feel.
Building the fringe strands and adding beads in a pattern will make your earrings look professional. Finally, secure the fringe and check the quality of your work. This ensures your earrings are finished well.
Remember, the more you practice, the better you’ll get. Each attempt will help you learn new techniques and improve your designs. The joy of making something unique is unmatched. With patience and care, your beadwork will show your creativity and dedication.
So, take these tips to heart and start making your bead fringe earrings. Enjoy the process of creating something special with your own hands.
FAQ
What is the best type of seed bead to use for beaded fringe earrings?
Size 11/0 Japanese seed beads are the top choice for fringe earrings. They are perfectly shaped and come in many colours. This makes it easy to create detailed and consistent designs.
How do I ensure the fringe strands of my seed bead earrings lay flat?
Keep the tension even when threading each row. Pull the thread tightly but not too hard to prevent curling. Adding a larger bead at the end of each strand helps keep them flat.
Why is it important to sketch my design before starting?
Sketching your design first helps plan the pattern and colours. It ensures all beads match in size and colour. This step saves time and reduces mistakes.
What techniques can I use to maintain even tension in my beadwork?
Use steady, controlled pulls on the thread. Avoid pulling too hard or too soft. Work on a flat surface and check alignment often to keep the rows even.
How do I secure the fringe to the earring hooks?
Tie a double or triple knot at the end of your beadwork to secure it. Use strong thread and make sure the knots are tight. A bit of jewellery glue can also help.
What can I do if my fringe strands are uneven?
If strands are uneven, re-thread and adjust their length. You can add or remove beads as needed. Always count beads carefully to avoid this problem later.
How do I add different types of drop beads to my beaded fringe earrings?
Thread drop beads onto the fringe strands after the seed beads. Make sure the bead’s hole fits your needle and thread. Secure it by looping the thread through it several times.
What are the best lighting conditions for beading?
Bright, natural light is best for beading. If not available, use a desk lamp with a daylight bulb. This reduces eye strain and improves visibility.
Why is it important to choose the right thread and needle for beading?
The right thread and needle are key for durability and ease. Use a strong thread like Nymo or FireLine with a fine needle. This makes threading small seed beads easy without breakage.
Can I use a specific pattern or should I create my own design for the fringe?
Both are great options! Using a pattern can guide you, especially if you’re new. Creating your own design lets you be creative and personalise your earrings. Choose what feels right for you and your style.