Welcome to your ultimate brick stitch tutorial, designed for beginners. It’s perfect for those eager to explore the colourful world of beadwork. This guide will cover the basics of the brick stitch, with a focus on the drop brick stitch technique.
The brick stitch method is known for its versatility. It lets you create intricate designs with just a needle and thread. By learning these basics, you’ll open up a world of possibilities for your beadwork projects. With patience and practice, you’ll soon be creating stunning pieces and enjoying the process of making beautiful beadwork.
Key Takeaways
- Introduction to the basics of brick stitch beadwork.
- How to use needle and thread for beading stitches.
- The versatility and applications of the drop brick stitch.
- Essential techniques for beginners to master.
- Setting expectations for the tutorial journey.
Understanding Brick Stitch Basics
The art of brick stitch starts with knowing the basic brick stitch. It’s about understanding the types of beads and tools needed. We’ll look at the materials for your beadwork and why Delica beads are popular.
Types of Beads to Use
Choosing the right beads is key for a beadwork design. Delica beads are best because they’re uniform and fit well together. This makes your design look clean and precise.
Other beads like seed, bugle, and round beads also have their own charm. They add different textures and finishes to your work.
Essential Tools and Materials
Starting your basic brick stitch needs the right tools and materials. A thin, strong needle is crucial. It should fit through beads easily but stay sturdy.
Choose durable thread that can handle tight beadwork. A good workspace is also vital. Make sure you have enough light and space for your materials.
Here’s what you’ll need:
- Delica or other types of beads
- Beading needle
- Beading thread
- Scissors
- Beading mat or tray
With these tools, you’re ready to start your basic brick stitch project. Good preparation and quality materials will make your crafting better. You’ll end up with beautiful pieces.
Ladder Stitch Foundation
Creating a sturdy ladder stitch foundation is key to a successful brick stitch beadwork project. This technique makes the essential foundation row. It ensures the stability and neatness of the design.
To start, thread your needle and pick up the first two beads. Secure these beads by looping your thread through them many times. This creates a solid start. Make sure to add two beads per stitch for this part. This makes the base row cohesive and tidy.
After the first two beads are in place, keep adding beads one at a time. Pass the needle through the second bead of the previous pair, then pick up a new bead. Keep doing this, threading each new bead to reinforce and tighten your foundation row. This will make a firm and even base row for your brick stitch.
For a visual guide, check our instructional image. It shows each step in making a strong ladder stitch.
Step-by-Step Instructions for Drop Brick Stitch
In this segment, we will delve into the step-by-step instructions necessary to perfect the drop brick stitch. We will cover each crucial stage to ensure polished results. This method is not only accessible but also immensely satisfying once mastered.
Starting with Two Beads
To start the drop brick stitch, you need to pick up two beads. Here’s a detailed breakdown:
- Thread your needle and pass it through both beads, creating the first loop. Pull the thread tight to secure the beads next to each other, laying flat.
- Push the needle up through the fabric or foundation row beneath the two beads, ensuring the loop is taut.
- Pass the needle back through the second bead to lock it in place. The first bead will naturally fall into alignment beside the second.
Congratulations! You have created the foundational first loop. Your beads should now sit side by side, ready for the next steps.
Creating Subsequent Rows
After completing the initial setup, you can proceed with starting a new row. Follow these steps for extending the pattern:
- Start by picking up a single bead. Pass the needle under the thread between the two beads below, then bring it up through the new bead to complete a loop.
- Continue by adding one bead at a time, looping through the thread between beads from the previous row. Ensure you maintain an even tension to keep the rows straight and uniform.
- When you reach the end of the row, turn the piece, and thread back through the final bead added. This step secures the row and prepares you for starting a new row.
Maintaining a consistent thread tension is vital in drop brick stitch. If the tension is too tight or too loose, the pattern may distort. Practise makes perfect, so keep an eye on how the beads align and make adjustments as needed.
Using these step-by-step instructions will give you a solid foundation in drop brick stitch. It will prepare you to explore more advanced techniques with confidence and creativity.
Common Techniques for Brick Stitch
Brick stitch is a flexible beading method with many techniques. These ensure your work looks great and lasts long. Learning to increase and decrease rows can add intricate designs and a special touch. Here, we’ll explore these methods and share tips for finishing your project well.
Increasing and Decreasing Rows
To increase beads at the start or end, add extra beads first. Start from the right to left and tie an extra bead in place. This expands your row, making your design wider.
To decrease, skip adding an edge bead at the start or end. This narrows your beadwork. It’s key for tapered designs or clean edges.
Finishing Off Your Project
When your project is the right length or shape, secure it well. Start by weaving your thread back through beads from right to left. This secures the threads in the pattern and keeps it stable. Make a knot in your thread and pull it tight after threading through several beads.
For extra security, weave the thread back through a few more beads before cutting the excess. This prevents your beadwork from coming undone, giving it a neat and professional finish.
Double Drop Brick Stitch
The double drop brick stitch is a more complex technique. It makes your beading pattern denser and more textured. Unlike the regular brick stitch, which uses one bead per stitch, this method adds two beads per stitch. This change can greatly enhance your beading project, adding depth and complexity.
To begin a new row, pick up two beads instead of one. This sets the stage for a stitch that is both strong and visually appealing. It’s great for making intricate and layered patterns, adding more detail to your beaded items.
Here’s a quick comparison for clarity:
| Stitch Type | Beads Per Stitch | Application |
|---|---|---|
| Regular Brick Stitch | One Bead | Simple Patterns |
| Double Drop Brick Stitch | Two Beads | Intricate Patterns |
The double drop brick stitch is ideal for those wanting to try more advanced patterns. It’s versatile and can be used in many projects. This makes it perfect for creating intricate and beautiful beaded pieces.
Designing Bead Patterns
Creating unique bead patterns is an art that needs creativity and skill. Think about the look you want to achieve when designing. Choosing the right colours and shapes is key to making stunning beadwork.
Start by picking a variety of beads in different colours and shapes. Try out different combinations to see how they fit together. Drawing your design on a beading grid or graph paper helps you plan before starting.
Remember, how each bead is arranged is crucial. It affects both the look and the structure of your piece. Balancing these aspects is important for a beautiful design.
Let’s look at a table to see how shapes and colours impact your design:
| Shape | Effect on Pattern | Recommended Usage |
|---|---|---|
| Round | Smooth flow and uniform texture | Background and filler areas |
| Square | Sharp and defined edges | Border and outline of design |
| Triangle | Dynamic and angular appearance | Highlighting specific sections |
Mastering bead pattern design takes practice and trying new things. Be patient and open to experimenting. With careful colour and shape choices, and a well-planned design, you can create stunning pieces that tell a story.
Video Tutorial and Diagrams
Exploring brick stitch can be easier with the right tools. We offer a range of resources like instructional videos, diagrams, and PDF guides. These are designed to help both beginners and those looking to improve their skills.
Visuals and PDF Resources
We’ve got visual aids like diagrams and a downloadable PDF. These are made to help you understand beadwork better. A visual guide can really help you grasp the brick stitch technique.
Our PDF guides break down each step of the brick stitch. They’re great for offline use, letting you learn at your own speed.
Step-by-Step Video Guide
If you like learning through videos, our guide is for you. It shows you how to start and finish the stitch, with detailed patterns. Watching these videos can really help you understand each step.
With our mix of visuals, diagrams, PDFs, and videos, you’ll have everything you need to master brick stitch. Whether you prefer visuals or video guides, these resources will help you grow your beadwork skills.
Advanced Tips and Tricks
Mastering brick stitch beadwork can truly elevate your projects. Here are some advanced bead weaving techniques, enriched with practical tips and tricks, to enhance your craft.
Correcting mistakes in your beadwork can be daunting. One effective method is to thread back through the beads. This technique allows you to remove errors without disrupting the entire pattern. Carefully thread back, ensuring you do not compromise the beadwork’s integrity.
Manipulating the angle of your beads can create unique textures and patterns. Adjusting the placement and direction of each bead can result in a variety of stunning visual effects. Experiment with these angles to find what works best for your design.
Switching between colours or sizes within a pattern can be seamless with the right approach. Here are some tips and tricks:
- Plan your colour transitions in advance to avoid clashing shades.
- Gradually introduce new bead sizes to maintain a harmonious look.
- Use a consistent thread tension to ensure a smooth transition.
By implementing these advanced bead weaving techniques, your beadwork projects will undoubtedly reach new heights. Whether you’re correcting a mistake or experimenting with new textures, these strategies will make your creations stand out.
Applications and Project Ideas
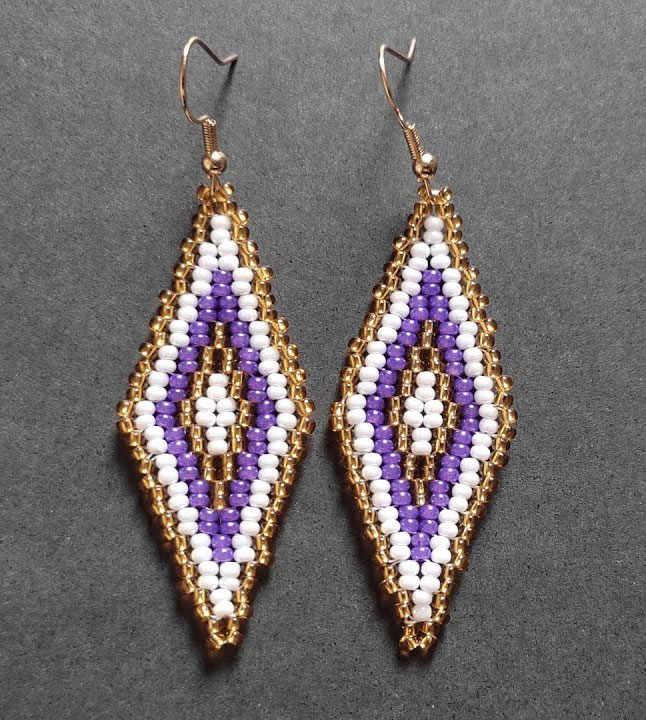
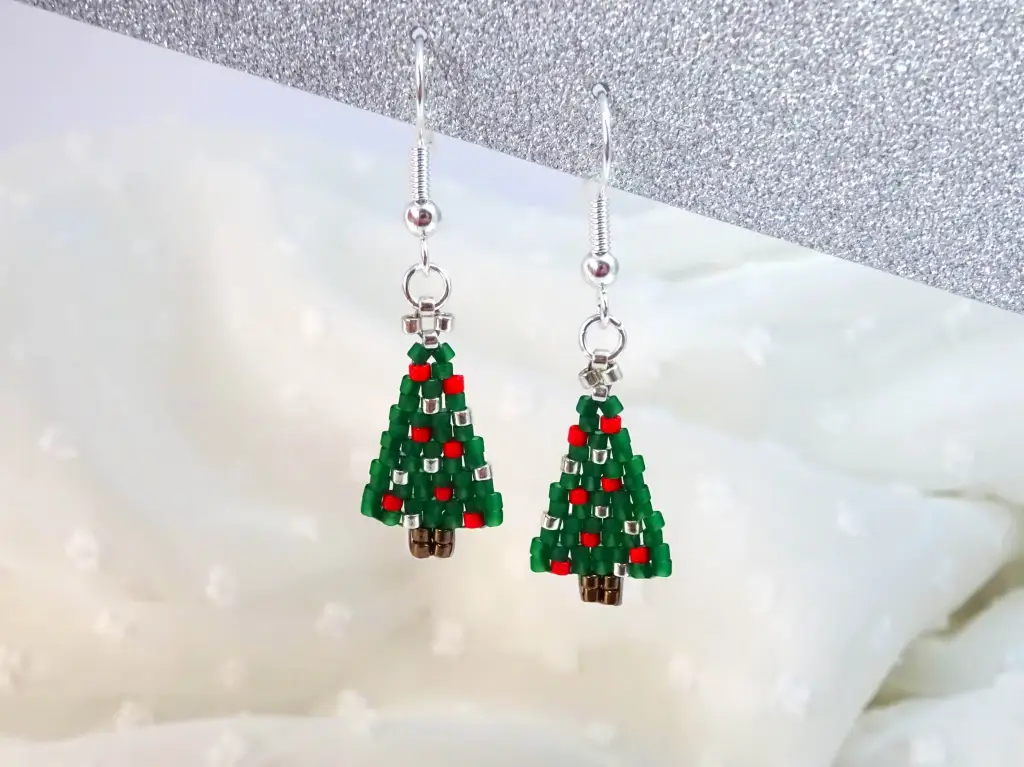
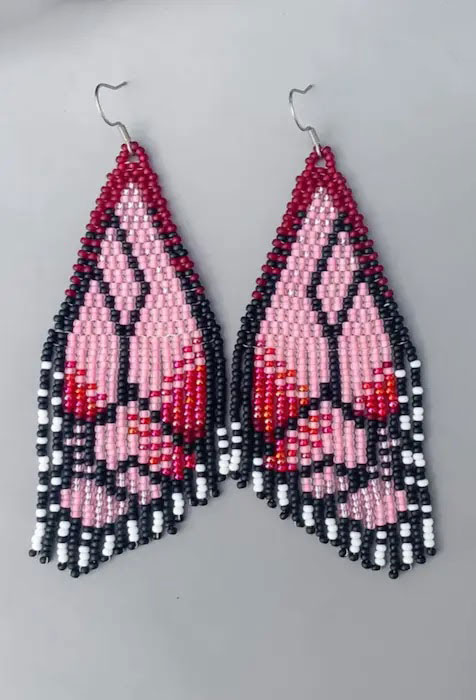
Brick stitch opens up a world of creative applications for making stunning beaded accessories. You can craft unique items like earrings, bracelets, and rings. Let your imagination soar with endless project ideas that show off your beadwork skills.
Start with a chic pair of earrings. Brick stitch lets you create intricate patterns. These can turn simple beads into eye-catching jewellery.
- Create geometric shapes
- Add fringes for a trendy look
- Incorporate multi-coloured beads for vibrancy
Bracelets are another great application for brick stitch. You can make wide cuffs or delicate bands. This technique gives you the structure for durable, stylish bracelets. Try different beadwork designs like:
- Chevron patterns
- Diamond motifs
- Customised name or word bracelets
Don’t miss out on making stunning rings. Brick stitch is perfect for intricate, personalised designs. You can make standalone pieces or matching sets. Think about designs with:
- Bold focal beads
- Delicate seed bead arrangements
- Stacking rings for a layered look
Brick stitch is versatile for many applications. Try different project ideas, from home décor to wearable art. Let your creativity shine. Happy beading!
Conclusion
Your journey through this beginner’s guide to the brick stitch is now over. You’ve learned about the basics, from tools and materials to mastering the ladder stitch. Each part was made to help you create beadwork with confidence and skill.
Looking back, you see how each topic built on the last. You’ve learned about increasing and decreasing rows, and even advanced tips. This guide aimed to make learning both thorough and fun.
We urge you to keep practising and trying new things. The joy of making beautiful beadwork is unmatched. Remember, bead stitching is a journey that never ends. With practice, you’ll make stunning pieces that show your skill and creativity. Start new projects and let your imagination run wild.
FAQ
What is brick stitch beadwork?
Brick stitch beadwork is a fun technique in bead weaving. It’s great for beginners because it’s easy to learn. You weave beads together to make designs that look like bricks.
What types of beads are ideal for brick stitch?
Delica beads work best for brick stitch because they’re all the same size. Seed beads can also be used for different looks.
What tools and materials do I need for brick stitch beadwork?
You’ll need a needle, strong thread, and beads. A comfy place to work and good light are also key. The right tools make your beadwork look its best.
How do I start with the ladder stitch foundation?
Start by threading two beads to make a base row. This row is important for a neat piece. Then, add more beads one by one using the ladder stitch.
Can you explain the steps for the drop brick stitch?
Sure! Begin by threading two beads and making a loop. Then, thread back through the last bead to secure it. Keep adding beads in the same way to make rows.
How do you increase and decrease rows in brick stitch?
To add rows, start with more beads. To shrink rows, skip beads. These steps help shape your beadwork.
What is double drop brick stitch?
Double drop brick stitch adds two beads per stitch. This makes the beadwork denser and more textured. It’s great for detailed designs.
How do I design my own bead patterns?
Pick your colours and shapes first. Then, draw your design on beading grid or paper. This helps plan and make complex patterns.
Are there visual aids or videos to help with learning brick stitch?
Yes, there are videos and PDF guides. They show you how to do it step by step. They’re great for learning through pictures.
What are some advanced tips and tricks for brick stitch?
For advanced tips, try threading back through beads to fix mistakes. Also, play with bead angles for different textures. Switching colours or sizes smoothly is another trick.
What can I make with brick stitch beadwork?
You can make many things with brick stitch, like earrings, bracelets, and rings. Its flexibility means you can create lots of beautiful designs.